Core concepts
Integrating External APIs
In this tutorial, we will walk you through how to connect the OpenWeatherMap API to your Bricks. This integration enables your Bricks to fetch real-time weather data for a specified location.
Connecting External APIs
Your First API Integration
GPTBricks offers the ability to connect external APIs to your Bricks, allowing you to augment your applications' functionality by integrating a variety of services. Here are the steps to connect an API:
Maximum Content Length
Please be aware that the current GPT model has a token limit of 4097. Therefore, kindly ensure that your API response remains within this limit.
- Select the "Add New API" button.
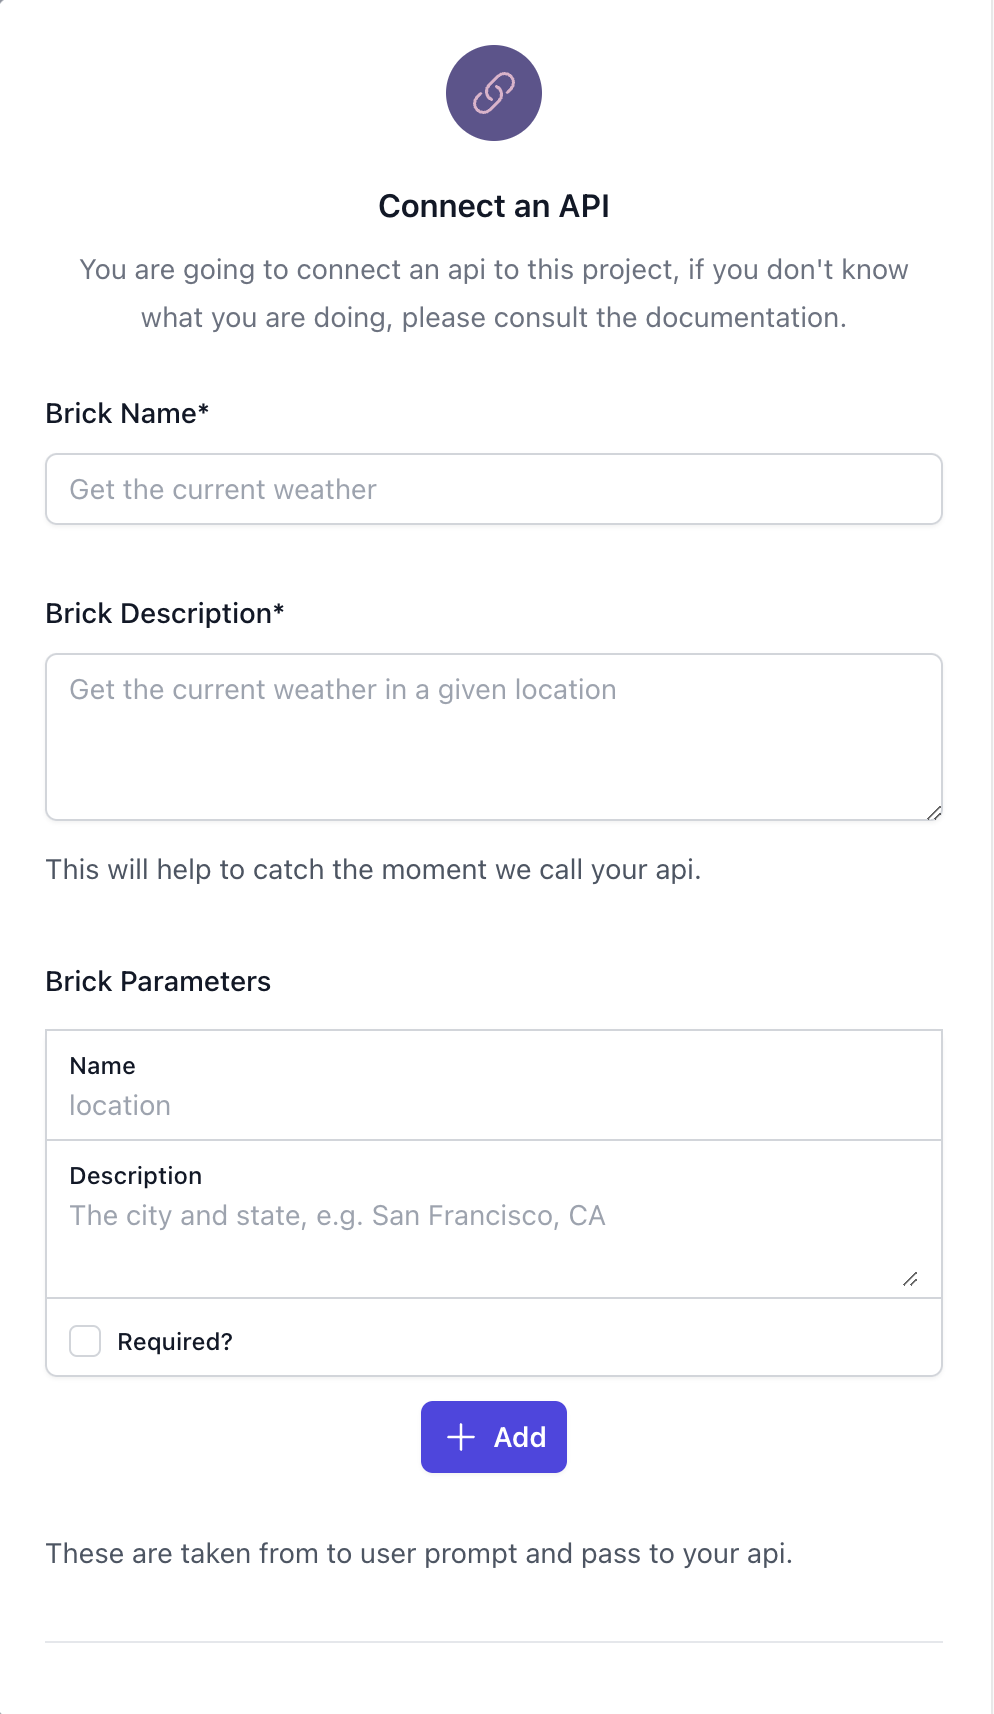
To initiate, we need to specify when GPTBricks should call your API. This requires a clear and concise name and description for your brick. For instance, we'll use "Get the current weather" as our Brick's name and "Get the current weather in the specified location" for its description.
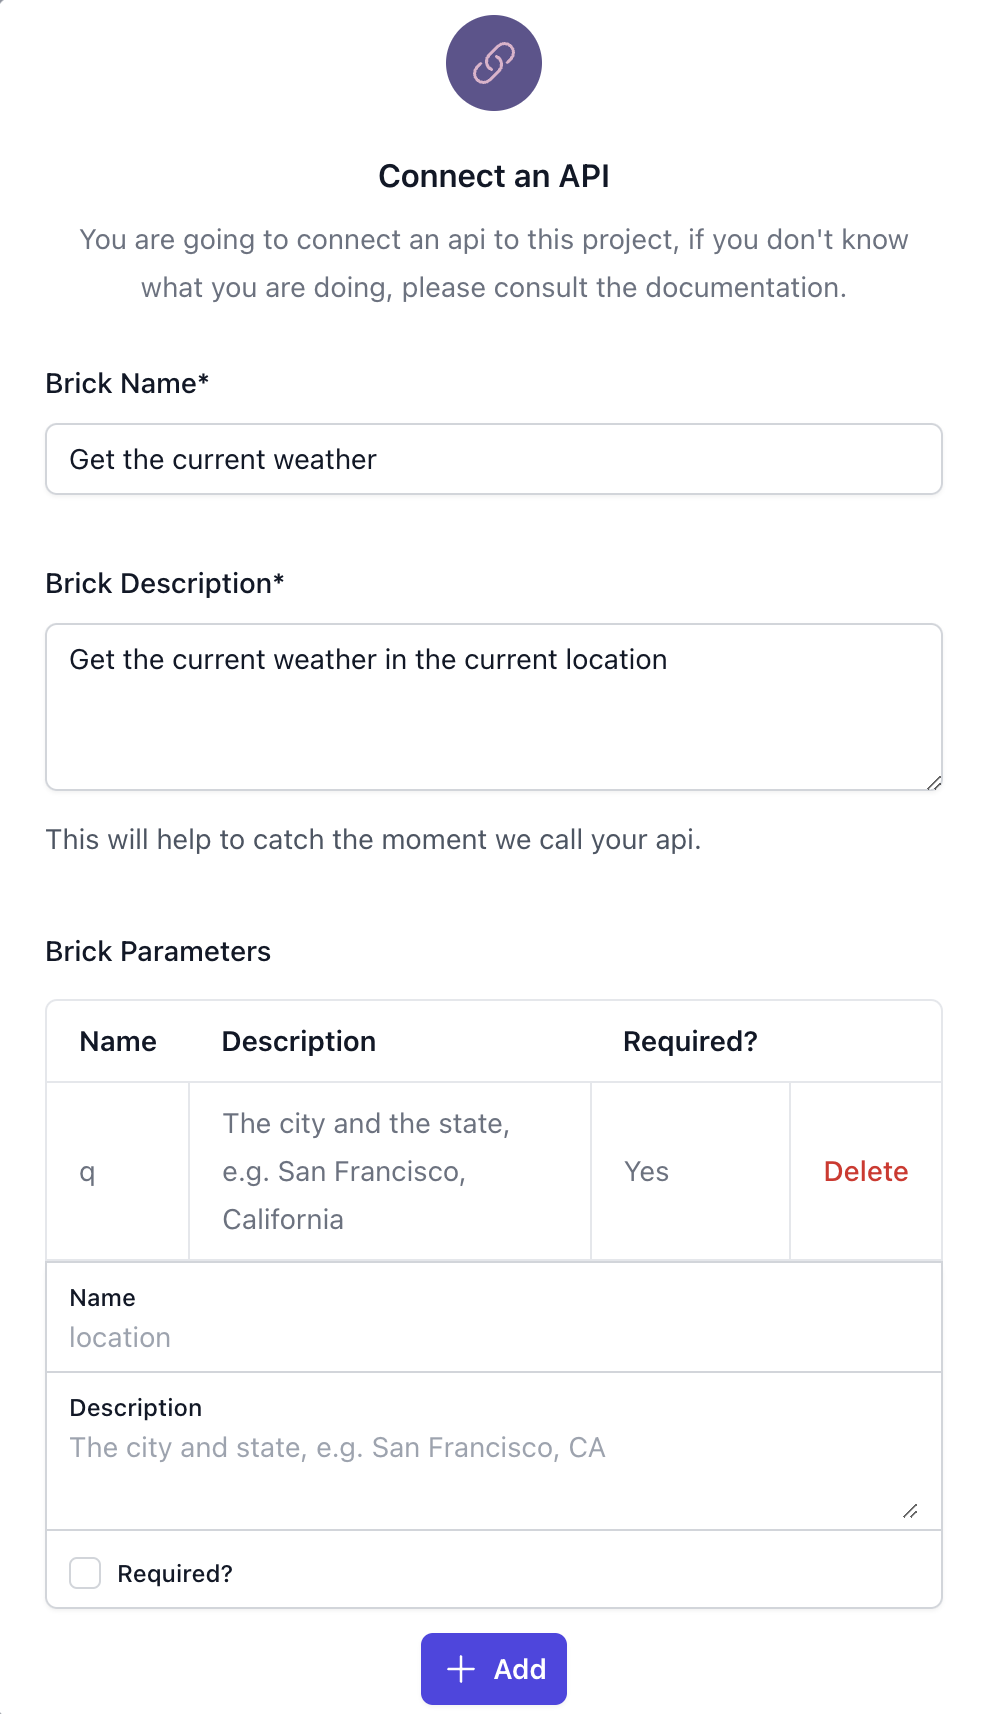
Next, in the Parameters section, add the q parameter for the location information. This parameter will be extracted from your prompt and passed to the API. In our case, the OpenWeatherMap API expects a q parameter. It is necessary to ensure we have a location provided, otherwise, the API should not be called.
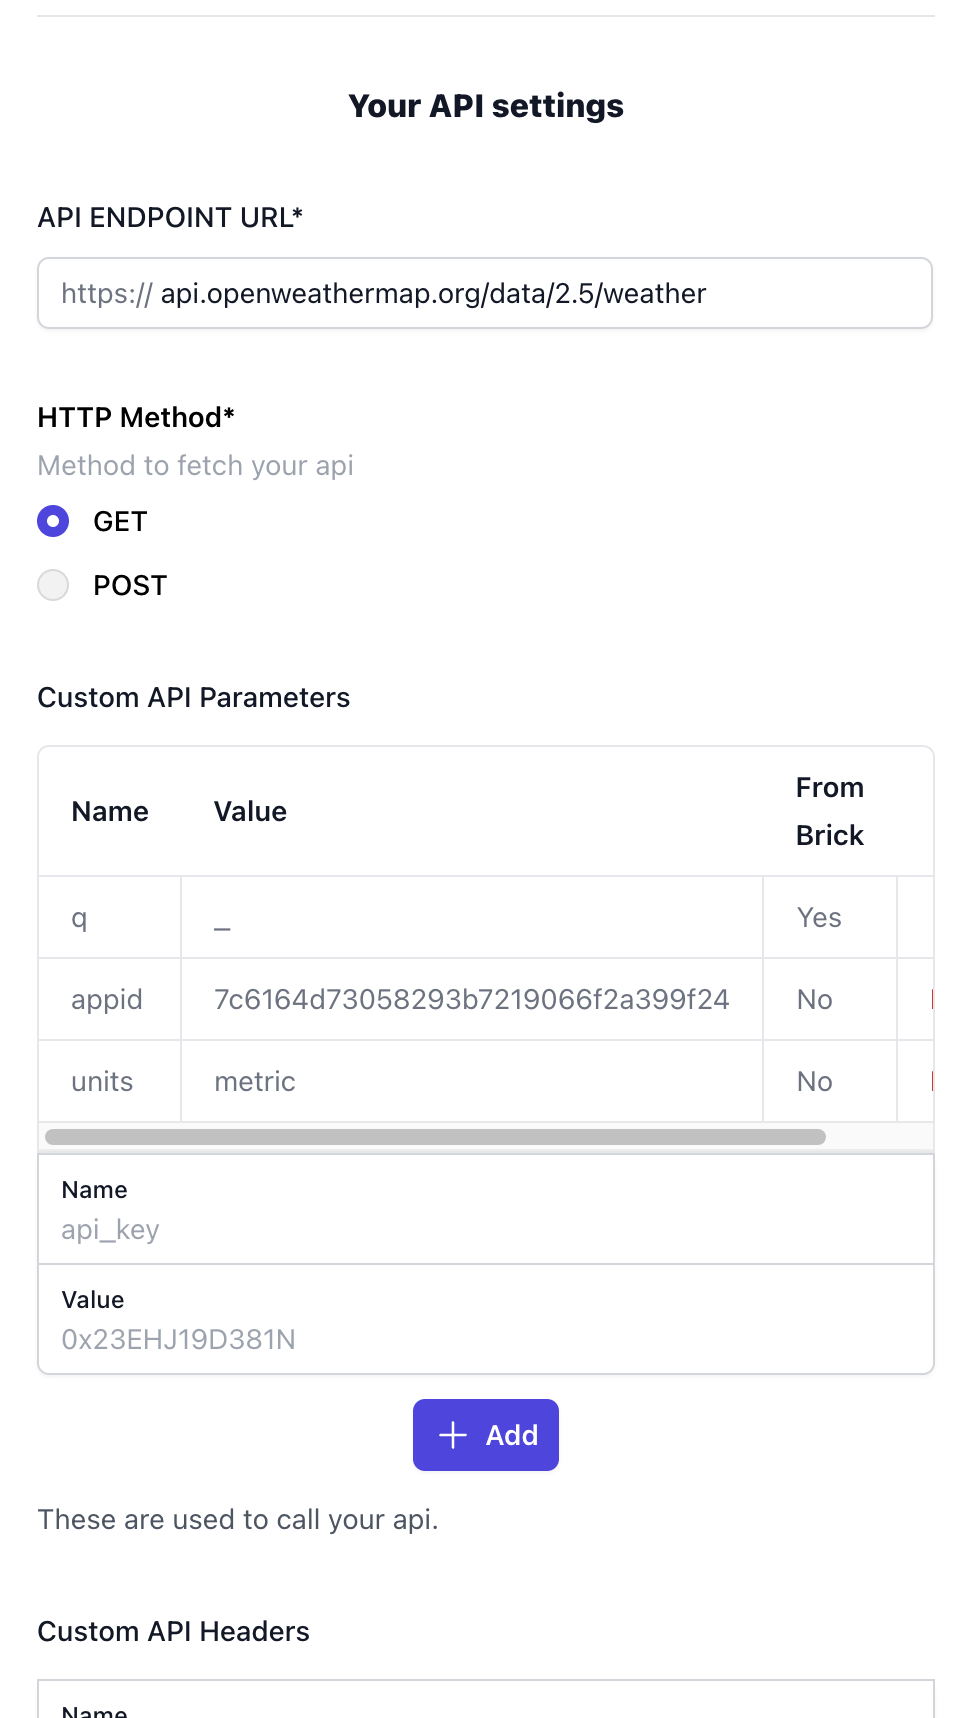
Following this, input the API call details. Set the API endpoint URL to api.openweathermap.org/data/2.5/weather and specify GET as the method. You'll notice that the q parameter set earlier appears in the Custom API Parameters section, indicating that its value will be fetched from the prompt.
Also, add an appid parameter with the API key you obtained from your OpenWeatherMap account. According to OpenWeatherMap's documentation, you also need to set the units parameter to metric.
Secure your API connections!
Remember, connecting to external APIs can expose your application to potential security risks. Always use secure connections and never expose sensitive information like API keys in your prompts.
Lastly, you have the option to define custom headers for your API call. In this case, however, we don't need it.
Once you've entered all the information, click on 'Connect API', save your project, and proceed to test it.